If photos are an important part of your organisation’s communication strategy, then you will probably like to share them with your customers or visitors (as one of our clients does). Or if you struggle with finding new ideas every day to freshen up your displays, then again photos might be what you need for creating new, eye-catching content.
digitalsignage.NET allows you to take your FlickR photos straight to your screens without having to upload the same files on two platforms.
In order to do this, you need to follow a few steps:
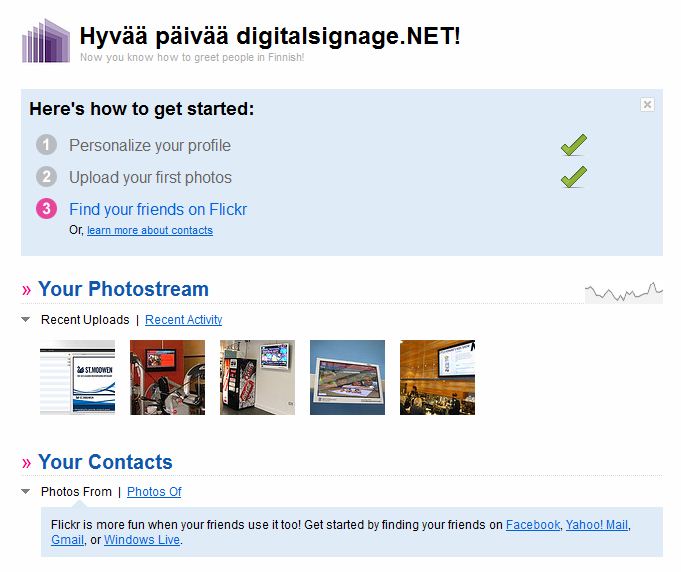
Step 1. Access your FlickR account.
Go to www.flickr.com and login to your account. Stay on the Home page.
Step 2. Get the RSS feed associated to your account
You will need to add this to your digitalsignage.NET portal later on.
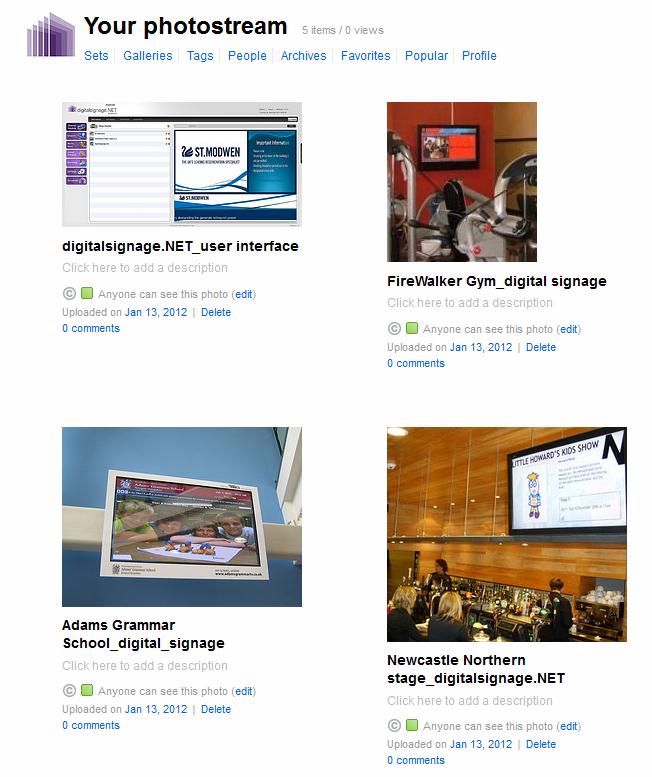
First, access your Photostream by clicking on the ‘’Your Photostream’’ link displayed on your Home page. This is what you should see after having done so.
Please scroll down to the bottom of the page and click on the Subscribe button.
A new window will open. Copy its URL as you will need to input it when creating a new scene in digitalsignage.NET.
Step 3. Add your RSS feed to your digitalsignage.NET portal
Login to your portal by going to
https://login.digitalsignage.net if you have a Solo account
https://yourportalname.digitalsignage.net if you have a Group account
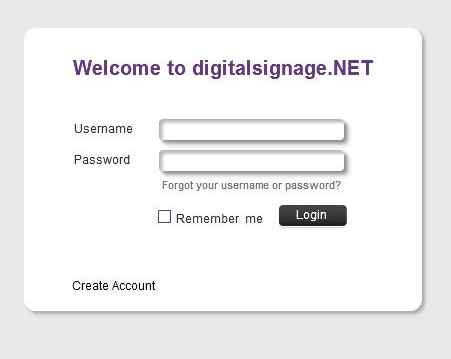
Type in your username and password.
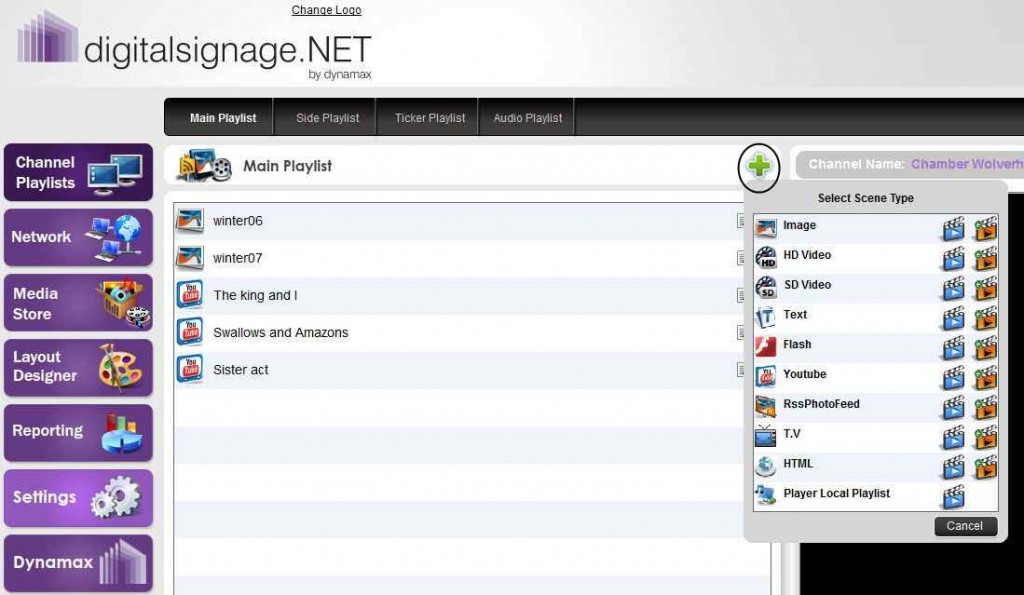
After logging in, go to the Main Playlist and click on the green button saying ‘’Add scene’’.
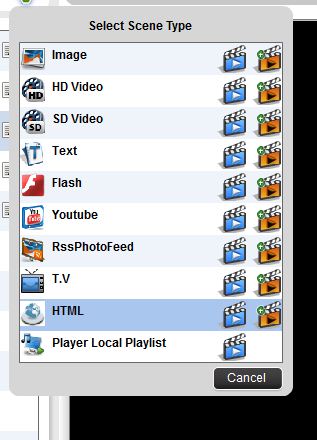
Then select the RssPhotoFeed scene type and please click on the blue button saying ‘’Create New Scene’’ when you hover over it.
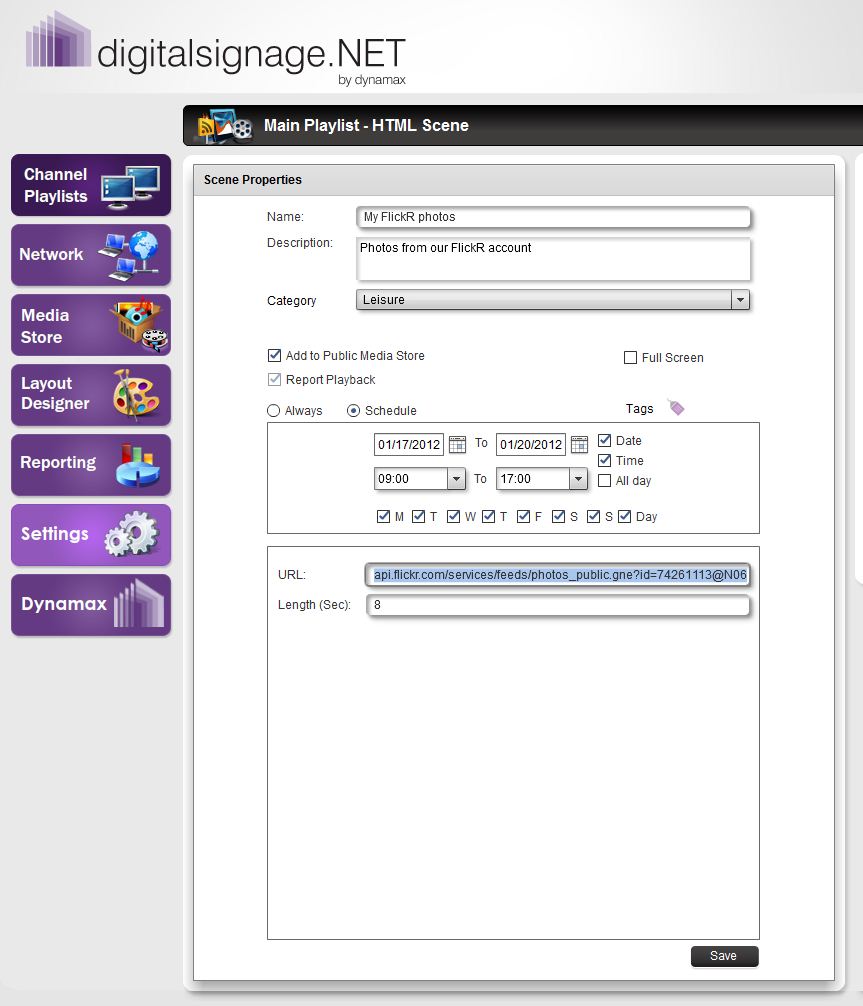
After having named and scheduled your newly created scene, you can inserting the URL obtained in step 2.
Then click ‘’Save’’ and a message will announce you that your scene has been saved within the system.
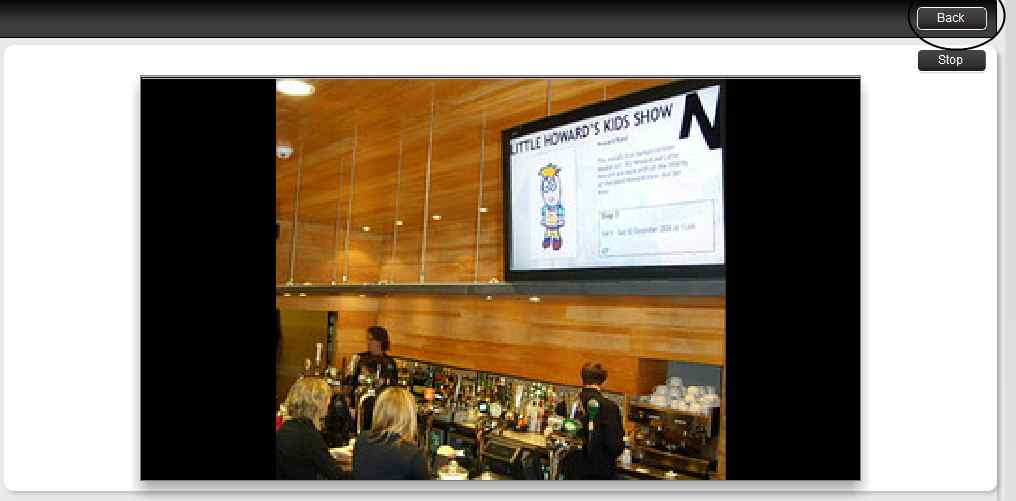
Click ‘’Preview’’ to view your photos.
Then click Back to publish the scene on your screen.
Hit the flashing button saying ‘’Publish’’ at the right hand side of the screen.
That’s it. Your FlickR photos are now showing on your screen.
Request a free 30 day trial today and see how this works for yourself.
This post can also be found in our Forums. If you’ve got any questions please send us an email at info@digitalsignage.net.

