

Collections are multiple pages gathered together to make a collective series, that can be used in conjunction with touch capable screens.
Collections can be used to create an interactive experience for users allowing the ability to link individual pages together with interaction and animation.
To create a Collection follow the steps below
1. Click on the Designer button ![]()
2. In the Designer,under Pages and Collections click on the Add button  . A box will open
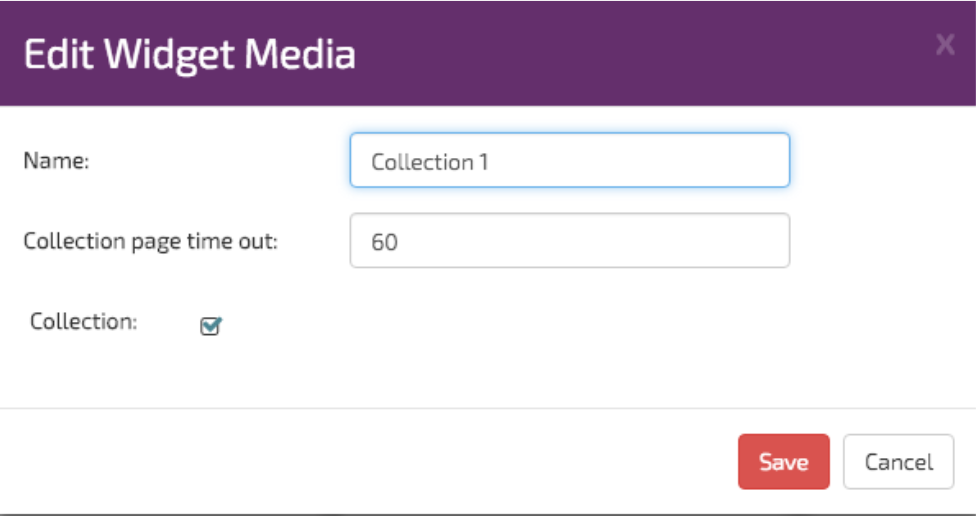
3. Give your collection a name, ie Collection 1
4. Enter a Collection page time out. Page time outs are used for inactive periods when a user is not interacting with a screen. By creating a time out, when a page has no interaction a countdown timer will start in the background. Once the timer reaches the set time, ie 60 seconds, the Collection will return to the first page in its list.
5. Leave the Collection box ticked
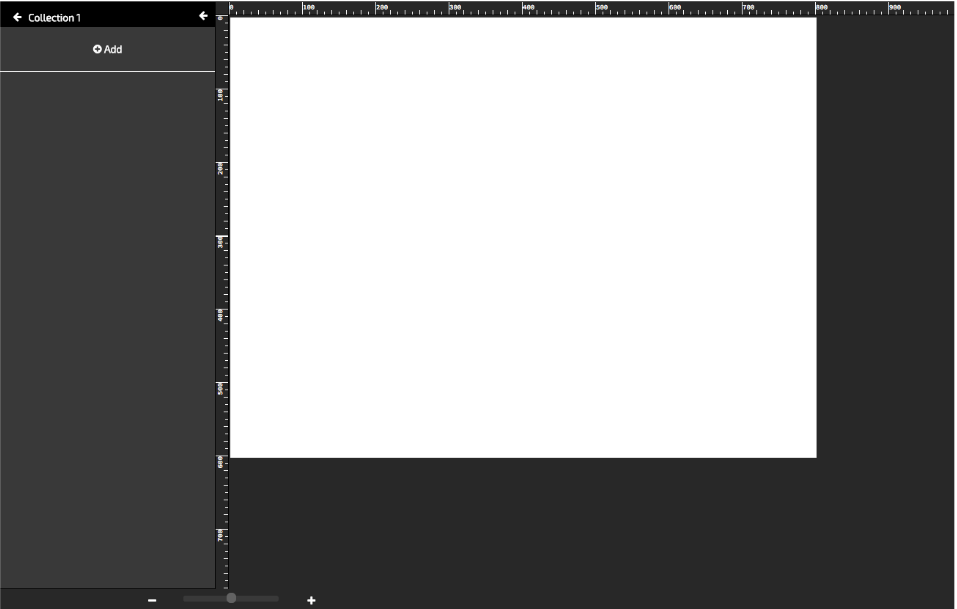
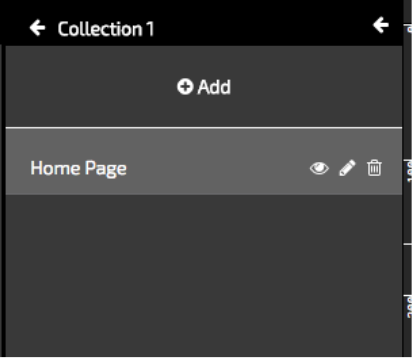
6. Click Save. Your new collection will now appear in the list ready for you to build it. Find it in the list and click on it. You should see an image similar to the image below
7. To start to build your collection, double click on the page name in the list, ie Collection 1
You should see a blank canvas appear in centre part of the designer as below.
8. Click the![]() button to create your first page. The page configuration box will open
button to create your first page. The page configuration box will open
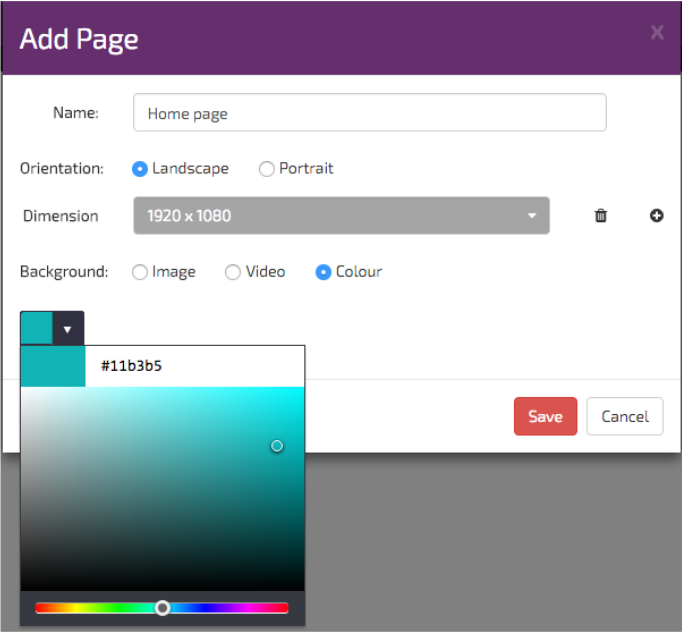
9. Give your page a name. I have called mine “Home page” . This is the first page and the page that the system will return after any period of inactivity.
10. Just like creating a page, add a colour, image or video background, page orientation and page dimension. Once you are done click Save. You should now have a page in your list called “Home Page”
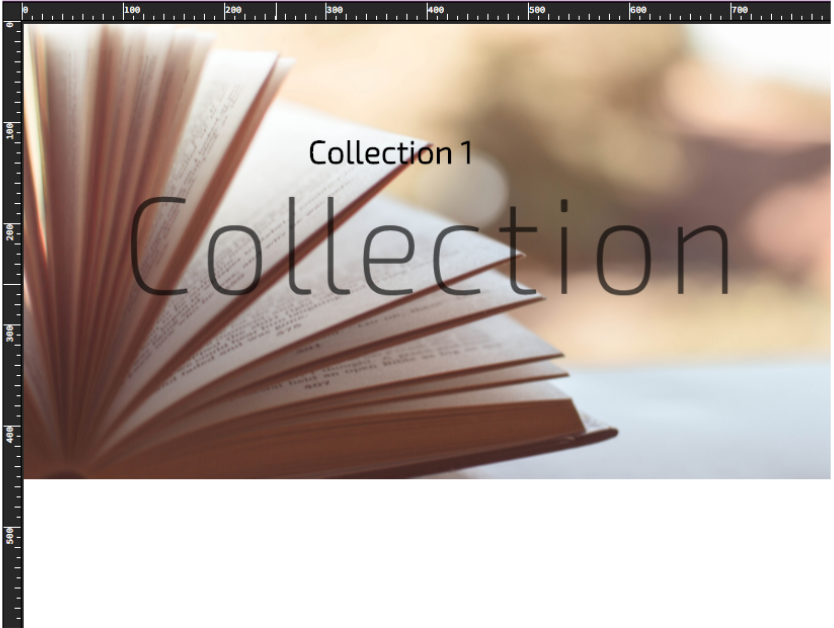
11. Design your home page by adding your Channel Content assets and other assets or widgets you require on your home page. Sample page below
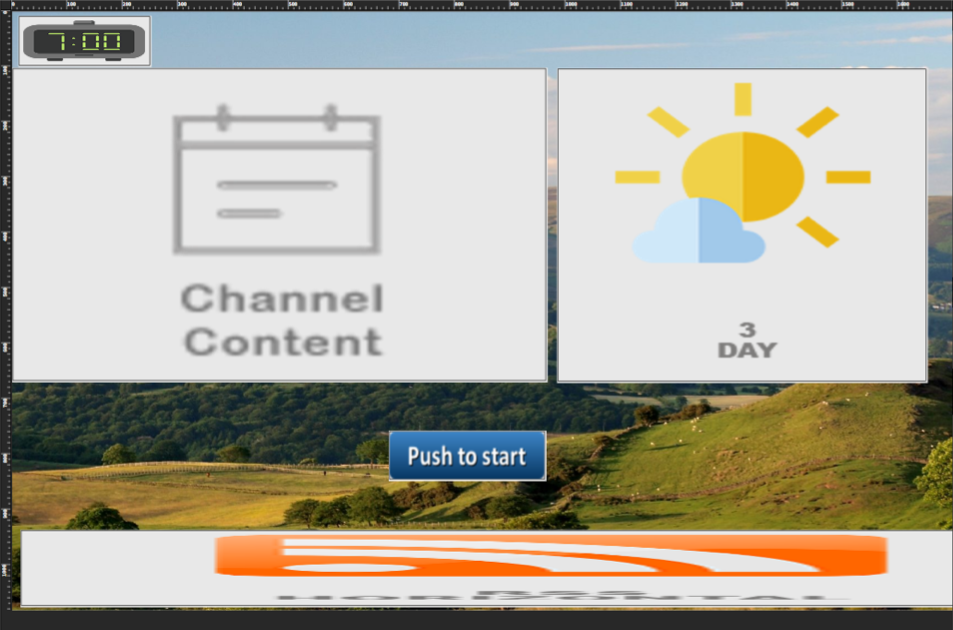
12. You will see on the image above that I have added an image that says “Push to start” . This image will be used as a link to the next page. We will add properties to this image later transforming it into a button.
13. Now staying in your collection, click ![]() and create another page called “Page 1” and save it to the list. You should now have two pages. “Home page” and “Page 1”.
and create another page called “Page 1” and save it to the list. You should now have two pages. “Home page” and “Page 1”.
Let create an action, so that clicking on the “Push to start” image button on the “Home page” will take us to “Page 1”.
14. Click on the “Push to start” image. On the right hand side find the section called “Triggers and Actions”
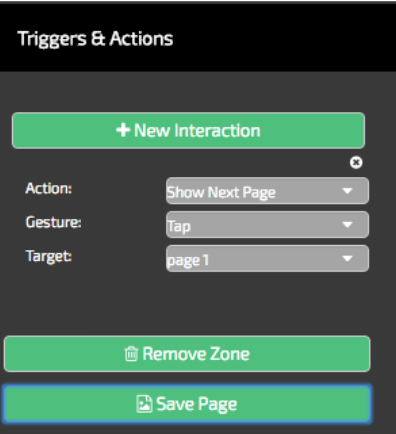
15. Click on +New Interaction
16. Select the Action, and from the dropdown menu choose” Show Next Page”
17 Select Gesture, and from the dropdown menu choose ” Tap”
18. Select Target, and from the dropdown menu choose “page 1”
19. Click Save page. You have successfully linked the “Home Page” with “Page 1” via the “Push to Start button image”
20. Buttons can also be animated. For example I may wish my button to appear from right, sliding in. You can set an Animation on the button to do this if you require. To do this click on the “Push to Start” button and on the right hand side locate the Animation section.
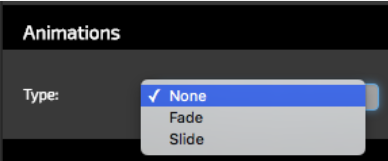
Currently you can choose; None, Fade and Slide. Choose the Animation you require and Save the page
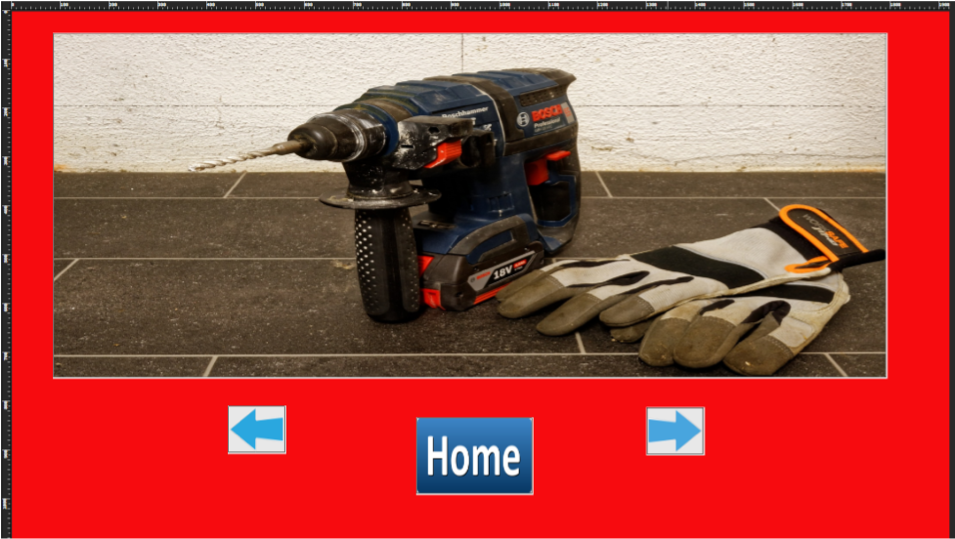
21. Create more pages for your collection and link them using buttons. In the example below I have added a forward, back and Home button.
21. You can Preview your collection and check that all the links work by selecting your “Home page” and clicking eye icon .![]() This will open up the Preview window. You will then be able to interact with the pages you have created.
This will open up the Preview window. You will then be able to interact with the pages you have created.
22. Your Collection can now be assigned to a Playlist.